 Save
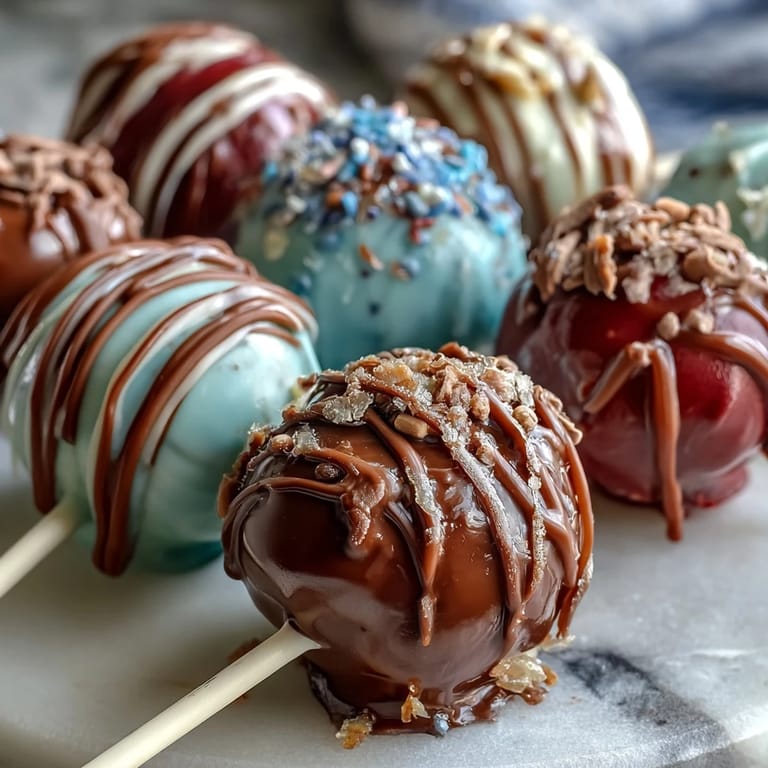
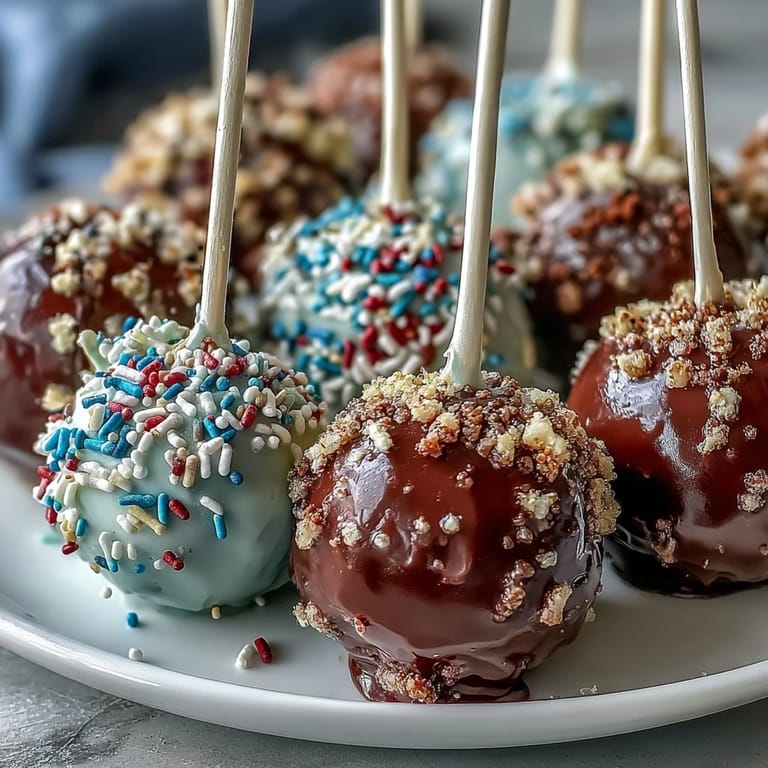
Save My cousin texted me three weeks before her graduation asking if I could make something special for her celebration party. She wanted cake, but something that felt elevated and tied to her school colors—deep blue and gold. I found myself standing in the kitchen at midnight, suddenly inspired by the idea of cake pops: tiny, elegant, and absolutely customizable. The moment I realized I could dip them in her exact school colors and finish with sparkling gold, I knew this was exactly what she needed.
Watching my cousin's face when she saw the finished pops arranged on a tiered stand in her blue and gold—that's the moment I understood why people bake for celebrations. Her friends were taking photos before eating them, and I caught her tucking one aside in a box, saying she wanted to remember this detail forever. It wasn't just dessert; it was a small, edible symbol of something she'd accomplished.
Ingredients
- Vanilla or chocolate cake mix: Box mixes are actually your secret weapon here because they're formulated for moisture and structure, which matters when you're crumbling and reassembling the cake.
- Unsalted butter: Softened means it beats into the sugar smoothly without creating greasy pockets in your frosting.
- Powdered sugar: The fine texture dissolves completely, giving you that silky frosting that holds the cake crumbs together without being dense.
- Milk and vanilla extract: These brighten the frosting and prevent it from tasting one-dimensional.
- Candy melts in school colors: These aren't traditional chocolate, but they melt smooth and harden quickly, which is exactly what you need for clean, glossy coatings.
- Vegetable shortening or coconut oil: Adding a tablespoon or two keeps your candy melts thin enough to coat without creating a thick shell that cracks when you bite in.
- Gold sprinkles or edible gold glitter: Apply while the coating is still tacky so they stick and catch light beautifully.
- Lollipop sticks and Styrofoam block: The sticks give you something to hold while dipping, and the foam block is where your pops harden standing upright like little edible decorations.
Tired of Takeout? 🥡
Get 10 meals you can make faster than delivery arrives. Seriously.
One email. No spam. Unsubscribe anytime.
Instructions
- Bake and cool your cake:
- Follow the box instructions carefully—you want a cake that's fully cooled before you touch it. This takes longer than you think, but rushing this step means warm crumbs that won't hold together when you mix in the frosting.
- Beat the frosting until fluffy:
- This is where your mixer earns its place on the counter; beating for 2 to 3 minutes incorporates air that makes the frosting light and spreadable. Don't skip this step thinking you'll save time.
- Combine cake and frosting with intention:
- Crumble the cake with your hands into the bowl until it resembles damp sand, then add frosting slowly while mixing with a spatula. You're aiming for a texture that holds together when squeezed but isn't so wet it feels like clay.
- Roll balls with consistency:
- About 1 tablespoon each means they're roughly the size of walnuts. Roll them between your palms with a gentle pressure—you want them smooth but not compressed so tightly they become dense.
- Secure those sticks like they matter:
- Dipping the stick end in melted candy before pushing it halfway into each ball acts like an edible glue. Wait a few seconds for it to set slightly before moving the pops to the fridge.
- Chill until the moment is right:
- Cold cake pops hold their shape during dipping and won't slip off the stick. Set a timer so you don't forget them in there overnight.
- Dip with confidence:
- Your candy melt should be warm but not hot—test it by dipping a toothpick first. Dip in one smooth motion, tap off the excess against the bowl's edge, and immediately place the pop upright in the foam block.
- Add gold while everything's still wet:
- Sprinkles that land on dry coating will slide right off. Work quickly through a batch and you'll catch that perfect moment when the coating is set enough to hold the decoration but still slightly tacky.
 Save
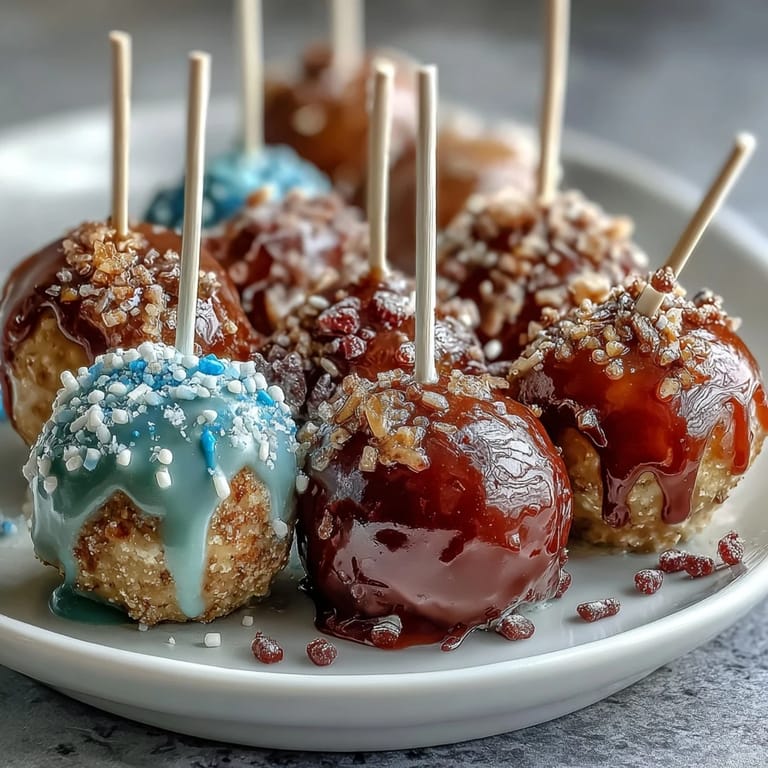
Save The afternoon before the party, I sat at the kitchen counter arranging the finished pops on a cake stand I'd borrowed from my mom, and I realized my hands were actually shaking a little. Not from nervousness, but from the pure satisfaction of creating something that looked like it came from a professional bakery, made entirely in my own kitchen. That feeling—the bridge between homemade and impressive—is what keeps me coming back to recipes like this.
Scaling Your Colors Strategically
I learned the hard way that if you're making pops in two school colors, it helps to estimate how many you want in each color before you start dipping. I made all 24 pops, then realized I'd wanted more of the blue than the gold, which meant reheating and re-dipping half of them. Now I divide my cake balls into two piles before I start melting candy, so I know exactly when to switch colors.
The Flavor Foundation Matters
My first batch used vanilla cake, which tasted fine but felt a bit plain once they were decorated. The second time, I made them with chocolate cake mix, and the richer flavor changed everything—the gold and blue coating felt more sophisticated when there was actual depth to what you were biting into. If your celebration has a particular vibe, match the cake flavor to it.
Storage and Presentation Secrets
These pops are sturdy enough to travel, which means you can make them a day or two ahead and keep them in an airtight container on the counter. I've even transported them in the box they came in, carefully wrapped in parchment paper with little foam padding between layers, and they arrived looking perfect. The coating protects the cake inside, so they stay fresh longer than you'd expect.
- Tie small ribbons around the sticks in school colors for an extra detail that transforms them from dessert into decoration.
- If you're serving them at a party, stand them in a Styrofoam block decorated with tissue paper or flowers in matching colors.
- Keep them in a cool room away from direct sunlight so the candy coating doesn't dull or sweat.
 Save
Save These cake pops stopped being just a recipe the moment someone tasted one and smiled, then asked if I could make them again for their own event. That's when you know something is worth perfecting.
Recipe FAQs
- → What cake flavors work best for these pops?
Vanilla and chocolate cake mixes are ideal, providing a versatile base that pairs well with school color coatings and gold accents.
- → How can I ensure smooth candy coating?
Adding vegetable shortening or coconut oil to melted candy melts helps achieve a smoother and shinier finish when dipping the cake balls.
- → What is the chilling time before coating?
Chilling the cake balls for at least 1 hour in the refrigerator or 30 minutes in the freezer helps them firm up and maintain their shape during dipping.
- → Can I customize the colors of the coating?
Yes, use candy melts in your preferred school colors or shades to personalize each pop, making them perfect for themed celebrations.
- → How should I store the finished cake pops?
Store them in an airtight container at room temperature for up to 3 days or refrigerate for up to a week to keep them fresh and tasty.