 Save
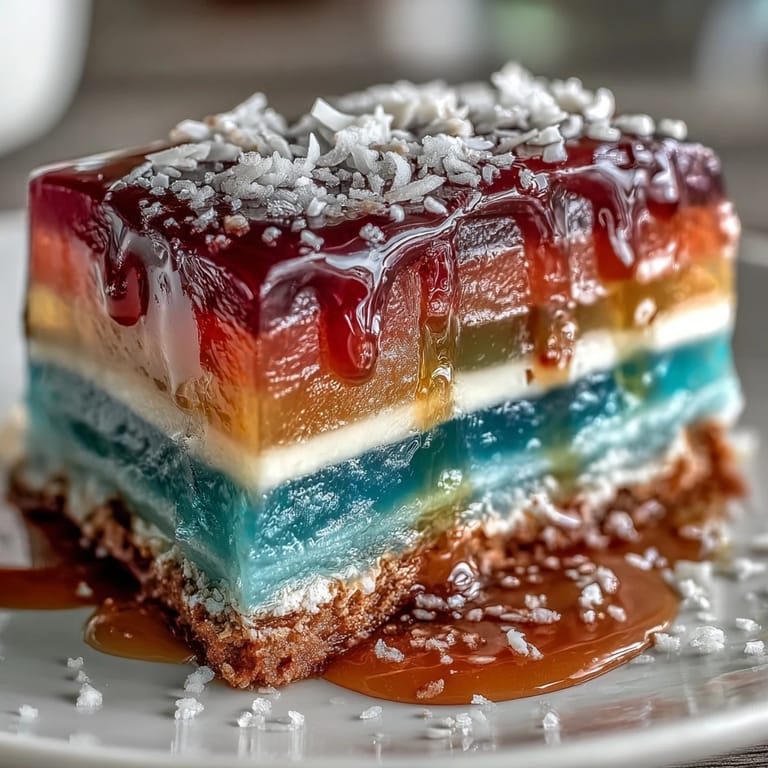
Save The first time the kitchen filled with the sweet, tropical scent of coconut and the faint tang of agar-agar, it was a gray afternoon that called for something celebratory. I found myself mesmerized as each layer—crimson, tangerine, sunshine, all the way to violet—cast a stained-glass glow across the countertop. There’s something quietly joyful about watching those colors bloom under your whisk. As each layer set, I couldn’t resist gently poking the wobbly surface, feeling like a kid again, half-expecting laughter to burst from the pan itself. Rainbow jelly cake isn’t the sort of dessert you make in a hurry—it’s a triumph built with unhurried patience and just a little whimsy.
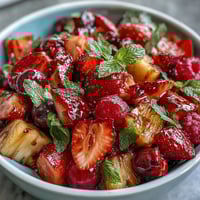
Serving this after a stifling summer barbecue, I watched my cousin’s eyes light up at the first forkful—the conversation paused as everyone savored the cool, lightly sweetened jelly. Without fail, it’s the only dessert where even the ‘not a sweets person’ crowd quietly goes back for seconds. We agreed that the crisp, delicate wobble is wholly unlike anything on the usual dessert table, and the leftovers somehow seem to disappear by breakfast the next day.
Ingredients
- Agar-agar powder: This seaweed-derived setting agent gives the cake its signature, firm-yet-tender layers—don’t substitute with gelatin unless you want a totally different texture.
- Water: Use filtered water for crystal-clear jelly layers; a tip I picked up after one too many hazy creations.
- Granulated sugar: The subtle sweetness balances the coconut and lets the vanilla or natural flavors shine—taste the liquid before setting to adjust as needed.
- Food colorings (red, orange, yellow, green, blue, purple): Start with a single drop—you can always add, but you can’t take away. Vivid layers only need a touch.
- Vanilla extract (optional): Just half a teaspoon turns the clear jelly slightly aromatic, though sometimes I skip it for a purer coconut focus.
- Coconut cream: Go for full-fat, unsweetened coconut cream for pillowy, luscious richness that contrasts every fruity hue.
- Salt: That tiny pinch in the coconut layer makes all the difference, giving depth and making the dessert taste like more than the sum of its parts.
Tired of Takeout? 🥡
Get 10 meals you can make faster than delivery arrives. Seriously.
One email. No spam. Unsubscribe anytime.
Instructions
- Brew the base jelly:
- Pour the agar-agar powder and water into your saucepan and whisk over medium heat as steam rises, watching for the mixture to look almost clear—persevere until every grain vanishes.
- Dissolve sweetness:
- Once bubbling, scatter in the sugar and optional vanilla and keep stirring until you can run a spoon through and see no lingering crystals.
- Color and divide:
- Scoop the hot jelly into six bowls—each soon to wear its own color. Swirl in food coloring gently, watching the spirals bloom, to create jewel-like red, orange, yellow, green, blue, and purple mixtures.
- Shape the first layer:
- Pour the red jelly into your mold and wait just until the top is barely set—it should tremble under your touch but not stick, then carefully pour the next. Repeat for orange, yellow, green, blue, and purple, letting each layer solidify before the next covers it.
- Mix up coconut cloud:
- In a clean pan, whisk together coconut cream, water, and agar-agar, bringing it to a gentle burble. Add the sugar and salt, tasting for balance, and remove from the heat the instant everything melts together.
- Pour the finale:
- As soon as the purple layer is set but not icy-cold, pour the coconut mixture slowly overtop, smoothing the surface with an offset spatula if needed.
- Chill and unmold:
- After letting the cake cool to room temp, transfer to the fridge for at least an hour until it’s entirely firm. Gently loosen the sides with a knife and invert onto a plate—a deep breath helps for this part.
- Slice and display:
- With a sharp, damp knife, carve into thick slices or neat cubes. Serve icy-cold for the loveliest bite.
 Save
Save I’ll never forget a rainy Sunday when a batch flopped: layers swirled together in the pan and we ended up calling it a rainbow marble instead. Everyone still ate every bite, but the laughter (and learning) made the second attempt taste all the sweeter. That cake now defines afternoons spent in good company, where perfection is less important than cheerful color and creamy coconut.
Getting the Cleanest Layers
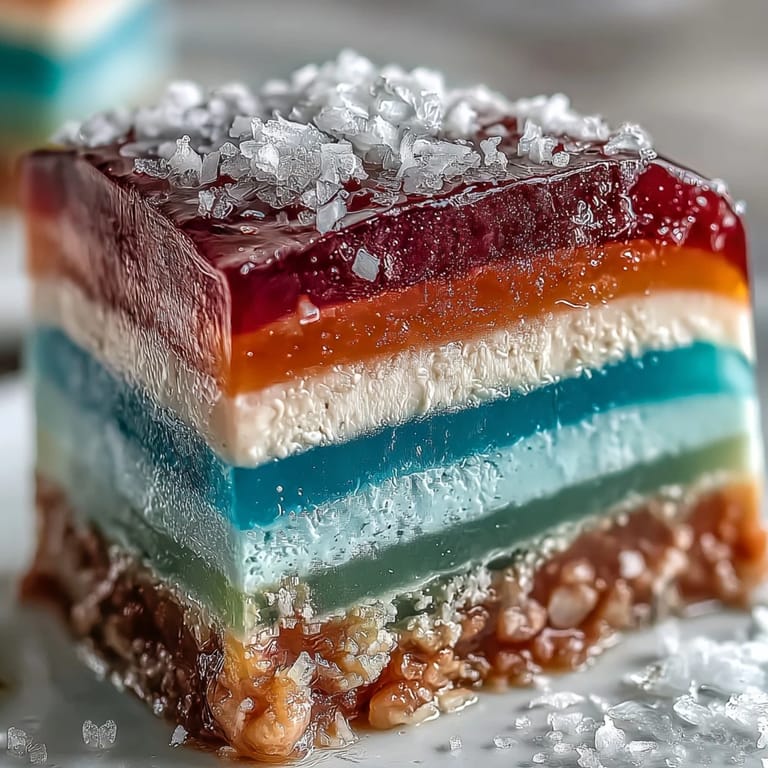
The most satisfying moment is always lifting the mold and seeing perfectly even stripes—no small feat. I found the key is to time each layer carefully, watching for that magical ‘just-set’ phase before pouring the next so the colors kiss rather than merge. Using a metal spoon to gently guide the liquid down the side of the mold helps too, especially with the heavier coconut layer.
Choosing Your Mold and Tools
A 20 cm round or rectangular mold creates showy slices, but don’t shy away from glass containers to watch the rainbow build. An offset spatula isn’t strictly necessary, but it helps coax the dessert free with neat edges every time. If you’re serving kids or big crowds, consider little cups—everyone gets their own prism to savor.
Fresh Flavor Ideas for Every Occasion
Once you’ve mastered the basics, try swirling in a touch of pandan for a floral green note, or rose extract in pink for something romantic. Natural colorings—like spinach for green or beet for red—add an earthy charm but need straining for clarity. A sprinkle of toasted coconut on top is another secret weapon to finish strong.
- Let the jelly cool slightly between pouring so layers don’t bubble up.
- Keep your whisk moving to dissolve agar-agar thoroughly and avoid clumps.
- For storing, cover tightly and eat within three days for the best texture.
 Save
Save May every slice bring a moment of color and calm to your day—never underestimate the happiness tucked between a rainbow and a cloud of coconut. Enjoy the wobbly delight, one jewel-bright piece at a time.
Recipe FAQs
- → What is agar-agar and how does it behave?
Agar-agar is a plant-derived gelling agent that sets more firmly than gelatin and holds shape at room temperature. It needs to be boiled to dissolve fully and sets as it cools, creating a clear, slightly springy gel ideal for layered jellies.
- → How long should each layer set before adding the next?
Allow each colored layer to cool until recently set but still slightly tacky — typically 5–8 minutes depending on thickness and room temperature. This helps layers adhere without mixing while preventing the top from becoming too rigid.
- → Can I substitute the coconut cream with something else?
For a different finish, use full-fat coconut milk for a lighter cream layer or blended cashew cream for a richer, nutty option. Ensure any substitution is heated with agar so it reaches a proper simmer to activate the gelling power.
- → How do I get bright, even colors without affecting flavor?
Use concentrated gel or natural powdered colorings sparingly; a few drops or a pinch yield vivid hues without altering texture. Stir gently to avoid introducing air bubbles that can mar the surface.
- → What’s the best way to unmold and slice the cake?
Loosen edges gently with a small offset spatula or thin knife, warm the outside of the mold briefly with a towel dipped in warm water, invert onto a plate, then slice with a sharp knife wiped between cuts for clean portions.
- → How long will it keep and how should it be stored?
Keep the cake covered in the refrigerator for up to 3 days. Store on a flat surface to prevent shifting of layers; bring to serving temperature by resting a few minutes at room temperature if the coconut layer is very firm.